Call an API
After configuring an API, you can trigger the API call and access the returned data.
There are two ways to trigger API calls:
- 1Auto fetch: When auto fetch is on, your page or component will call the API on load, or when dependencies change
- 2Workflow actions: You can manually trigger the API from workflows
Using auto fetch
Auto fetch automatically calls your API without requiring manual triggers. This is particularly useful for data that should be loaded immediately when a component appears.
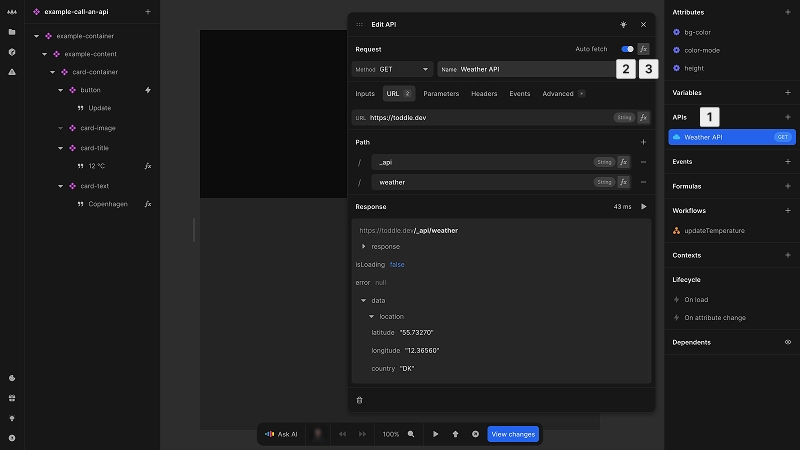
To enable auto fetch:
- 1Navigate to your API in the data panel
- 2Toggle Auto fetch on
- 3Optionally use a formula for conditional data fetching
Using workflow actions
Workflow actions give you precise control over when APIs are called, typically in response to user interactions or other events.
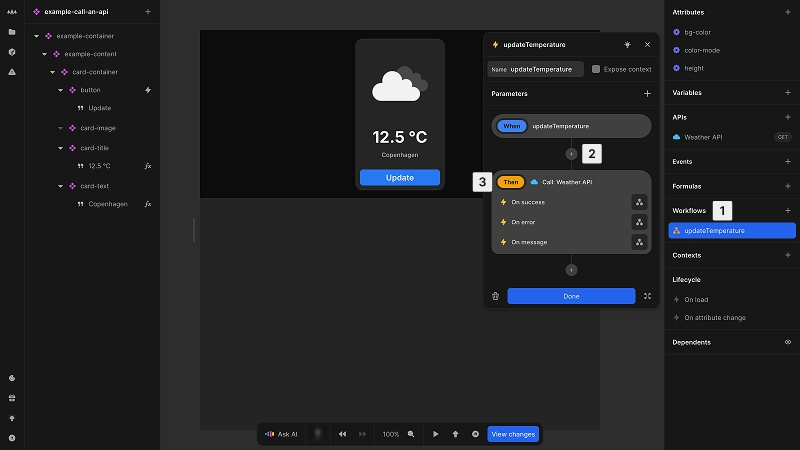
To call an API from a workflow:
- 1Create or edit a workflow for an event
- 2Click + to add an action
- 3Under APIs, select your API
- 4(Optional) Specify any input values you want to override, as defined by the API's specification
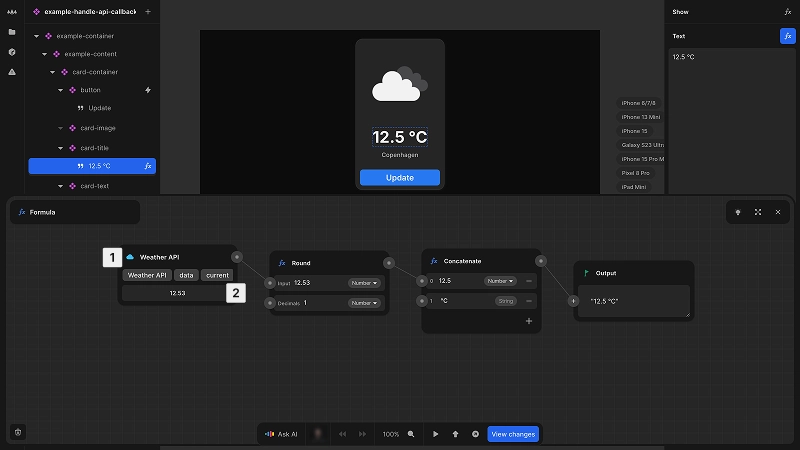
API example
The following example demonstrates how to implement a weather card that combines both API calling methods. The example uses auto fetch to load weather data when the component mounts, and provides an update button that manually triggers the API through a workflow action.
API inputs
API inputs allow you to you customize parameters each time you call an API, giving you flexibility to reuse the same endpoint with different values depending on the context.
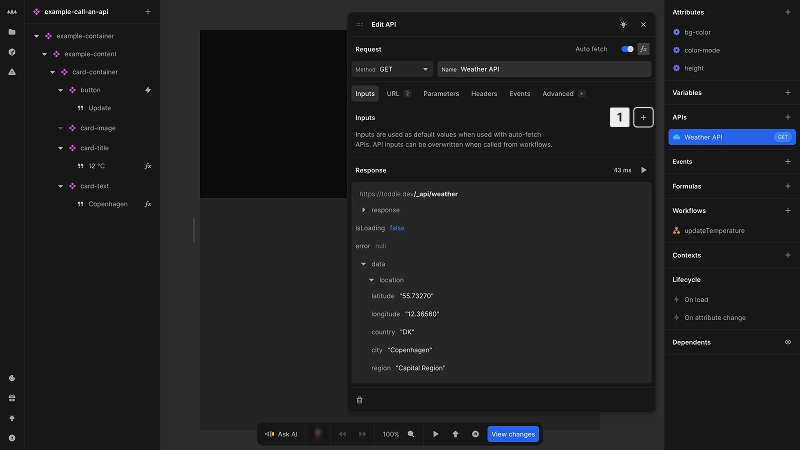
Define inputs for your API:
- 1Click + in the Inputs tab
- 2Set a name
- 3Set a default value, either static or dynamic using the fx button
When calling the API through a workflow action, all defined inputs become available for overriding.
Unlike test values which are only used during development, input values serve as actual default values when the API is called with auto fetch enabled.
Handling API callbacks
Callbacks are events triggered by API responses, which let you execute specific workflows in response to updated data from an API.
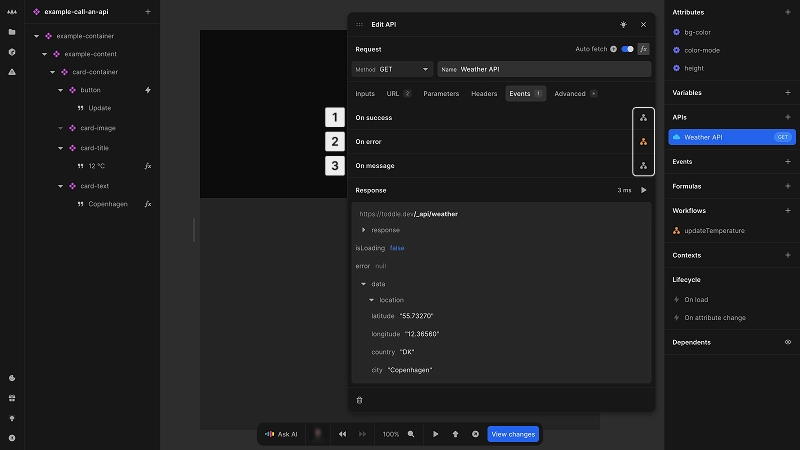
Available callbacks:
- 1On success: triggered when the API call is successful
- 2On error: triggered when the API call fails
- 3On message: triggered when a message is received
Set up callback handling in the Events section of the API or workflow action.
Callback events on the API are executed just before the action-specific events.
The following example demonstrates how to configure and react to an API callback event.
Cancelling API calls
You can cancel ongoing API calls using the Cancel API call workflow action. This is useful in scenarios where you have long running API requests that your website or the user might want to cancel.
Accessing API data
Once your API call completes, the resulting data is available for use in your logic and UI.
Access API response in the formula editor:
- 1In the formula editor, add a new node and select the API endpoint from the APIs section
- 2Select the data you want to use
Available API response data:
isLoading: indicates if the API call is in progressdata: contains the successful API response bodyerror: holds error information if the API call failedresponse: provides HTTP response details:status: HTTP status codeheaders: HTTP response headersperformance: performance metrics
Use isLoading to manage UI states during data fetching (e.g. showing loading indicators or disabling interactions).