Working with workflows
Learn how to create event-triggered and reusable workflows with parameters and sequential action nodes to implement interaction logic in your Nordcraft project.
Create a workflow
You can create a workflow on any event in Nordcraft. This can be a standard JavaScript event on an element, a custom event on a component or lifecycle events like On load or On attribute change.
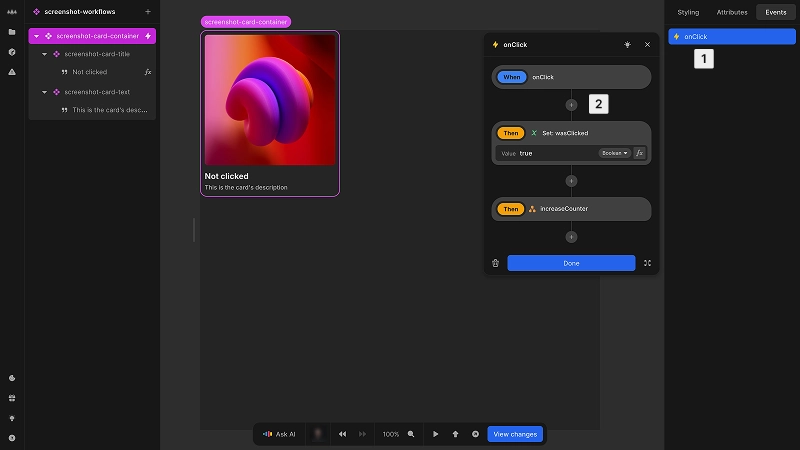
To create a workflow on an event:
- 1Select the event; this can be any event in Nordcraft
- 2Add nodes to create your logic
Reusable workflows
If you have logic in your component that you need multiple times or if the logic tree is complex, you can create a reusable workflow from the data panel.
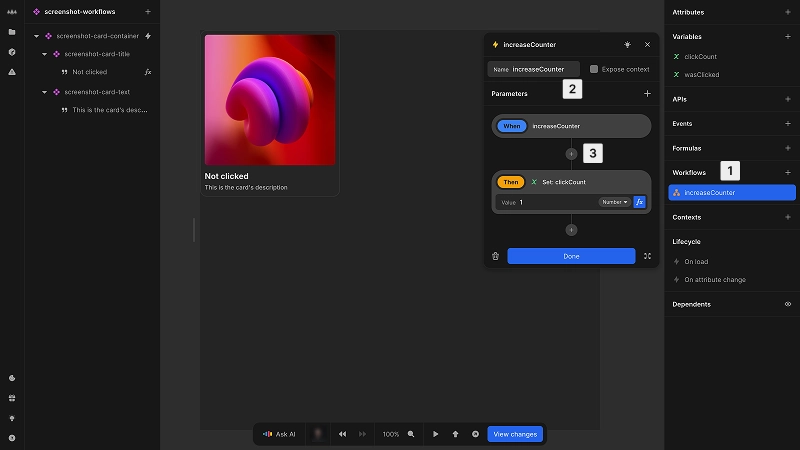
To create a reusable workflow:
- 1With no element selected so that you can see the data panel, click the + button in the workflows section
- 2Select a name for the workflow and add optional parameters
- 3Add nodes to create your workflow logic
Create reusable workflows to keep your logic managable or if you need to use the same functionality multiple times.
Parameters and events
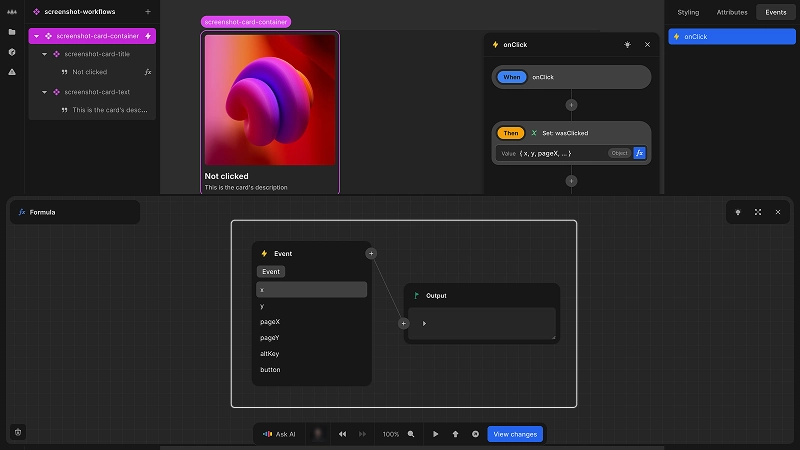
When a workflow is triggered by an event, you have access to the event's data within the formulas of the workflow, so you can configure how to react to the data of the event.
In reusable workflows, you can define parameters. These are the inputs of the workflow and you can use them in any formula in the workflow. By defining parameters, you can create workflows that can cover multiple scenarios.

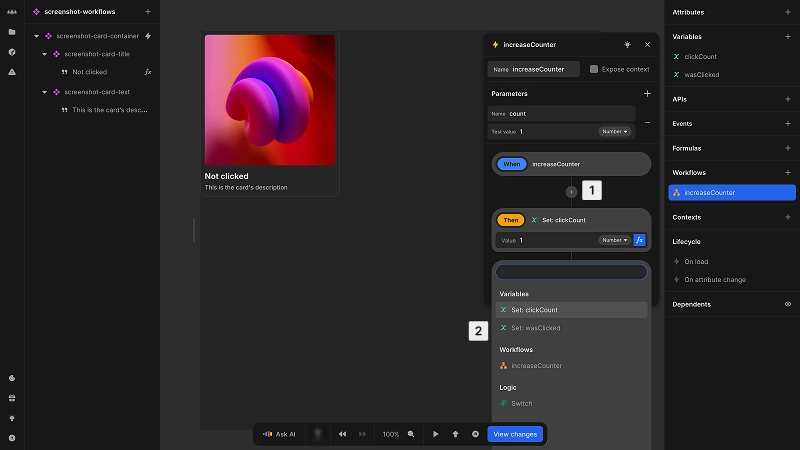
To create a parameter:
- 1Click the + button
- 2Choose a name for the parameter
- 3Assign an optional test value; this value is only available in the editor and will not affect your website in production
Nodes
A node is an action, an instruction or a piece of logic that is executed sequentially. There are several built-in nodes like Set variable, Set session cookies or Switch. You can also call custom actions or reusable workflows. This way you can create nested workflows and individual pieces of logic that are composable.
To add a node:
- 1Click on a + icon in the workflow
- 2Pick a node from the list and click on it
You can copy and paste nodes in a workflow or between workflows via the context menu or Cmd/Ctrl + C and Cmd/Ctrl + V.
Sequential execution
Workflows execute their nodes sequentially. However, this does not necessarily mean each step waits for the previous one to finish completely.
Sequential and asynchronous execution
Workflows execute nodes in the order they appear (sequential), but some nodes (like API calls) work asynchronously. This means:
- Nodes are always called in sequence (one after another)
- However, asynchronous nodes may not complete before the next node starts executing
- For asynchronous operations, you need to use callback events to handle their results
This is why some nodes have specific callback events like On success, On error, or tick. These callbacks allow you to define what happens after an asynchronous operation completes.