Managing changes
The version control panel lets you view and manage changes in your active branch. In case of any conflicts between your active branch and the main branch, you can resolve them here.
To access the version control panel, find the version control icon in the left sidebar.
Active branch
Switch branches from existing branches in the project, and view and manage changes in your active branch.
Create and switch branches
Create a new branch by clicking the + button in the top right corner of the header of the version control panel. This will open a dialog to name and create the branch. You can switch between existing branches using the input in the Changes tab of the version control panel.
View changes in your active branch
The changes in your active branch are shown in the Changes tab.

All files that have been modified in your active branch are listed in the Changes tab. Changes are calculated by comparing your active branch to the state of the main branch at the point of branch creation. Since the main branch may also change when other branches are published, the original main branch and current main branch may not be the same at the when the changes are calculated. The original state of the main branch at the point of a branch creation will be referred to as the ancestor branch.
Each change is marked with an icon and name representing the change, as well as a letter describing the type of change:
C: the value that has been created. This does not exist in the ancestor branch.D: the value that has been deleted. It exists in the ancestor branch, but not in the current branch.
You can dive deeper into the changes by expanding the item. This will reveal a list of all of the changes made to that item. Where you see both C and D, this means a value has been edited. Click on the Created value to see the new change, and click on the Deleted value to see the previous value.
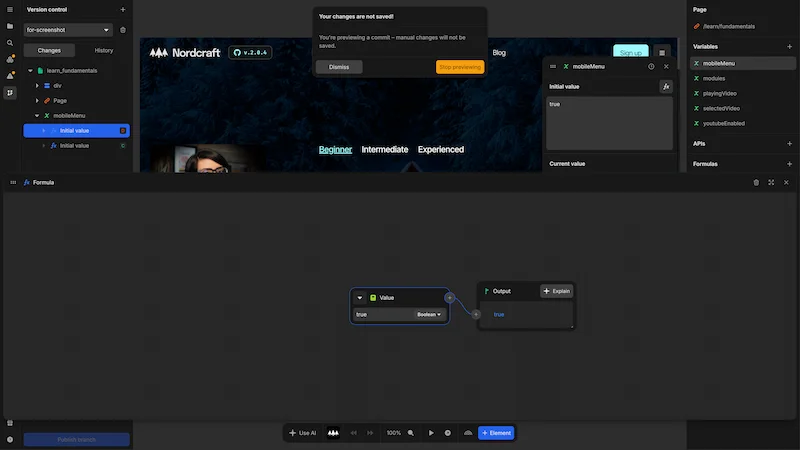
Additionally, whenever you click to select a created or deleted change in the Changes tab, the value will be shown in the editor. For example, if you made changes to a formula, clicking on the affected item will open the formula editor.
Clicking on a deleted change puts the branch in preview mode so you can view the old value without affecting the current state of the branch.
Main branch
All files that have been changed in the main branch since the last synchronization (or creation of your active branch), are shown in the Main section. Like in your active branch, the changes shown here are the difference between your active main branch and the ancestor branch. Edited changes can be expanded to show the changes within, and when you select a deleted or edited change the actual value is shown in the editor.
When there are changes in the Main section, it means that your active branch is Out of sync. In order to be able to publish the changes on your active branch, you must synchronize the changes the active main branch. If there are no overlapping changes between the two branches, synchronizing will be as simple as clicking the Sync with main button. This will merge the changes on the main branch into the changes on your active branch, and enable publishing.
Conflict management
Overlapping changes between your active branch and main are called conflicts. Overlapping changes cannot be synchronised automatically, since there are two possible outcomes in that conflict. In order to resolve a conflict, you will need to accept one of the two changes.
- Conflicting changes on your active branch can be accepted by right clicking an item in the
Changestab and selectingAccept current. - Conflicting changes on main can be accepted by right clicking an item in the
Mainsection and selectingAccept incoming.
Publish changes
As long as your active branch is synchronized with the main branch, you can publish the active branch changes. When you publish changes, your changes will be merged into the main branch and become visible to users immediately on the live site. You can explore the commits to the main branch along with their descriptions, on the project page.