Version control
Version control keeps track of all in-progress changes made in your project, records the history of all changes added to the live site, and allows you to revert to previous versions of files or previous versions of your project should you need to.
If you’re already familiar with Git version control, version control in Nordcraft works in a similar way, using branches and commits.
For a primer on version control and branching, check out the following lesson from the Nordcraft Fundamentals video course.
Branches
Branches in Nordcraft allow you to develop new features or fix issues without affecting the live version of your website, providing a safe environment to make and test changes before making them available to users.
Understanding branches
When you create a new project, Nordcraft automatically creates a branch called start for you. The main branch represents what your users see in production. You cannot edit the main branch directly, but you can view it in the editor.
Branches work like branches on a tree:
- Your
mainbranch is the trunk that users see - New branches grow from this trunk
- When a branch is complete, it can be merged back into the trunk via a
commit - When a branch is merged, it becomes becomes part of the trunk
If you are familiar with Git version control, Nordcraft branches work in the same way.
Advantages of branches
Using separate branches for individual features or fixes provides several benefits:
- Isolated development: Work on specific features without impacting other work in progress
- Easier collaboration: Reduce coordination overhead when multiple people work on the same project in parallel
- Stability of live version: The main branch remains stable in production with completed and tested features only
- Simplified testing: Test changes independently before publishing
- Reduced risk of conflicts: Minimize conflicts that may arise from simultaneous edits to the same project
Keep branches small and short-lived. A branch should contain just a single feature like add-color-picker or fix-dialog-styling-issue.
Working with branches
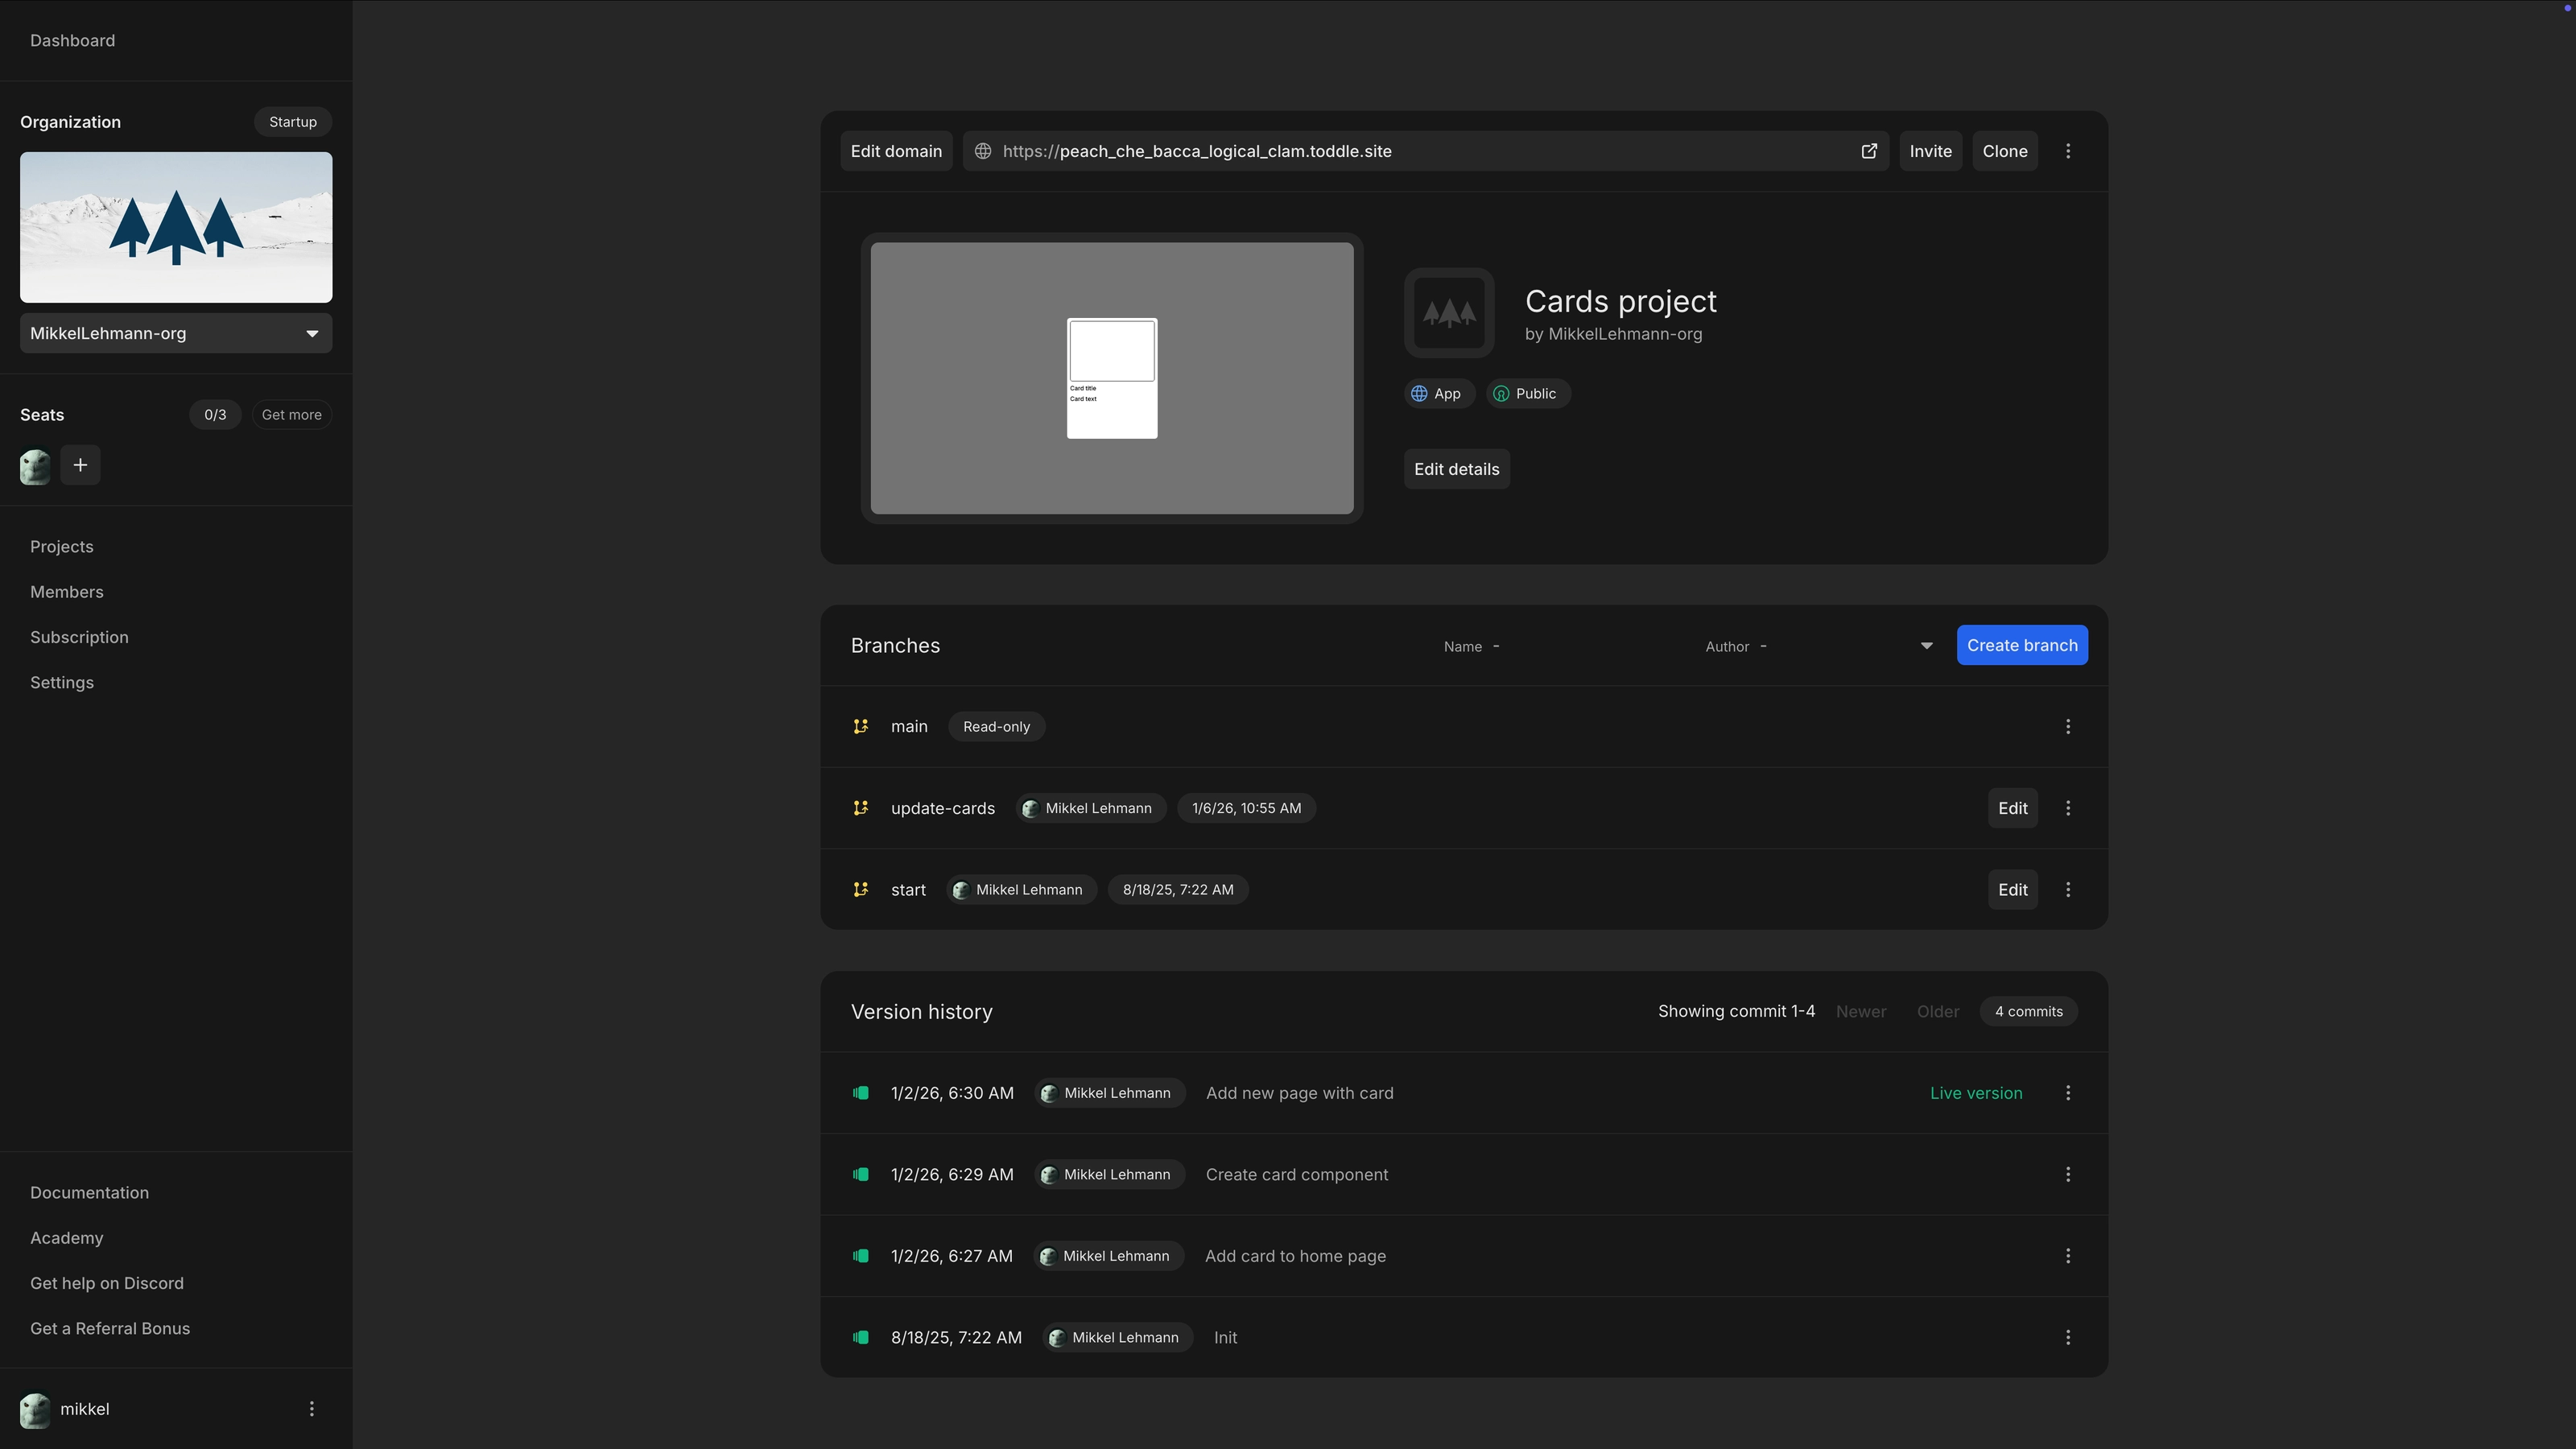
On the project details page you can view a list of currently active branches. You can choose to edit, preview or delete branches from the list. You can also see the full version history of the project, containing all commits to the main branch along with their descriptions.
Create a new branch
- 1Click the Create branch button
- 2Choose a descriptive name for the branch and confirm
When the branch is created, you are automatically taken to the editor to start working on that new branch.
You can have multiple active branches at the same time, each focusing on a different feature or fix.
Edit a branch
You can edit all branches in your project except for the main branch. Click the Edit button next to a branch to open the editor to start working in that branch.
Preview a branch
You can preview your branch to test changes before publishing.
- Select
Previewin the branch menu - This opens a preview at
branch-project.nordcraft.site - You can share this preview link with others for feedback
- All changes made on a branch are automatically synced to the preview link
Delete branch
You can delete a branch by selecting Delete in the branch menu. This will remove the branch along with all of the changes made on it.
Deleting a branch cannot be undone, so make sure that you do not need the branch anymore.
Version history
The version history of your project is shown as a list of commits to the main branch. Every time you publish a branch, an entry will be made in this list. Each entry shows when the changes were merged into the main branch, who merged the changes, as well as the description for that change. Since the branches are deleted when published, it is not possible to explore the changes after a merge, so make sure that you provide a good description when publishing a branch.
Roll back changes
If you discover issues on your live project after publishing, you may need to revert to a previous version of your project. This is known as a rollback.
- 1Go to the version history section in project details
- 2Find the version you know worked correctly
- 3Select the
Rollbackoption in the manu next to that version - 4Confirm the rollback
This will restore your live website to the selected version immediately, overwriting the current version.
Rolling back is a significant action that affects your live website. Make sure you have selected the correct version before confirming.
To save the current changes, create a new branch before rolling back. That way you will not lose the changes you did after the commit you rolled back.